

The secret to the success of songs can sometimes rely on the manner that it was recorded. It is the reason why as a musician, you need to know how to record crisp, rich instrument tracks and vocals in any type of recording environment. And because recording a song is a complex process, simple things such as the positioning of the microphone(s) can greatly alter the quality of your music.
As a musician, it pays to have knowledge about arranging, creating grooves and beats in your preferred beat making software, writing harmonies and counterpoint melodies, and balancing levels. The more knowledge you have about how sound works, the better you can command just how you want things to sound or how you want the vocals to stand out.
Recording techniques and equipment have evolved over the years and unlike in the 18th century when musicians could only use cylinder phonograph as a practical sound recording and playback device, soloists and instrumentalists now have myriad of options when it comes to the equipment they’ll use in recording vocals and tracks.
In the early years, there was no way to experiment with different methods or instruments. If a musician wanted to hear his performance, they had to use master discs. It wasn’t until the 20th century that people learned how to use the horn to apply vibrations and add groove effects to the recordings in master discs. But, this process was complex as it required everything to be recorded at the same time and the volume of each instrument or voice was dependent on their distance from the recording equipment.
Thankfully, the advancement in technology now allows musicians to create that awesome sound we all love.
Recording Techniques and Tips
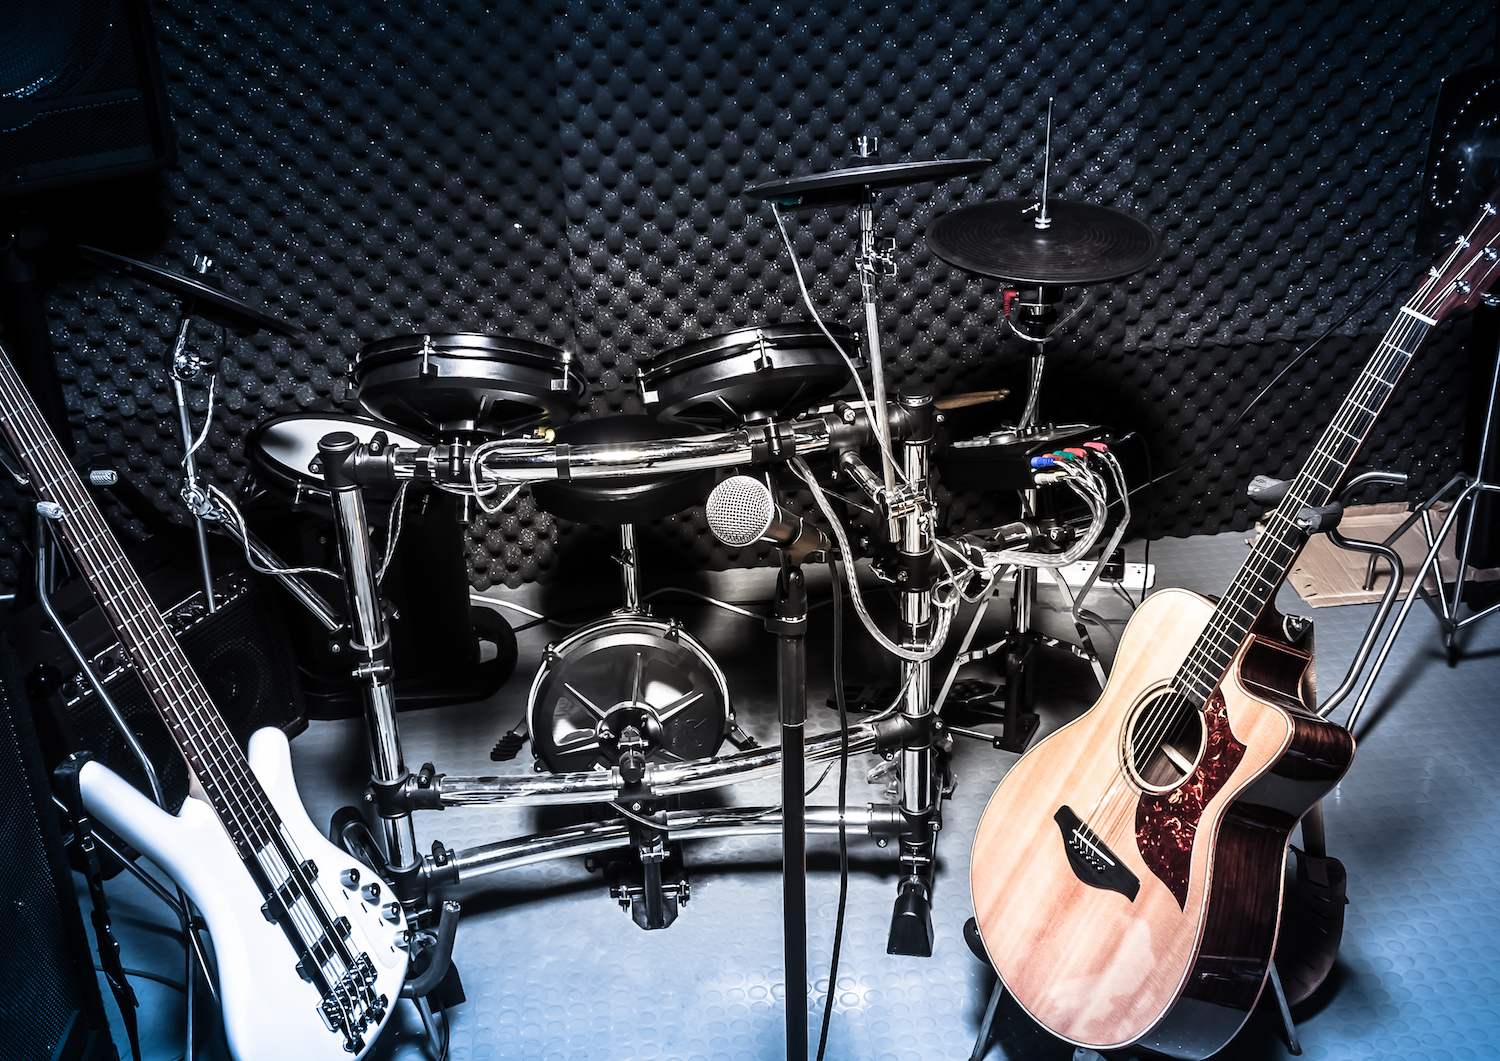
1. In Studio Recording
The most important things in music production are the vocals, however, the recording for louder instruments like drum kits, brass, or string sections is also crucial if you want your music to stand out.
If you’re recording vocals, special or big rooms aren’t necessary as long as the recording studio has been carefully picked. Make sure that the room is quiet and away from distractions, has a good ambiance, and has a comfortable room temperature to keep instruments in tune.
When recording in studios, bear in mind that you will need one mic for each sound source (eg. one for voice, one for guitar) and it’s recommended that you position each mic 15cm from the source for best results. If you will be needing to record complex sound sources such as a piano or a drumkit, it’s recommended that you get microphones that come as matched pairs. This way, you’ll have maximum audio fidelity and control over the sound.
You also need to make sure that you pick the best mic according to the functionalities you need. For example, if you’re recording vocals, you need a mic like RODE NT1-A which eliminates the p’s, ph’s, f’s or the ‘plosives’.
Equipment you’ll need: computer, recording software, pop shield, microphone (you can choose between condenser mics, dynamic mics, or ribbon mics depending on the purpose of your recording and other instruments you’ll use).
For more tips and techniques for in-studio recording, watch this video.
2. Backmasking
Although this recording technique is not very modern and is a bit controversial because it’s associated with hidden and subliminal messages, backmasking is still worthy to be included in this list. As the name implies, backmasking records sound or message backward onto a track that is meant to be played forward.
This technique was popularized by The Beatles after their album Revolver was released in 1966. Backmasking is now being used for artistic, comedic, and satiric effects, on both analog and digital recordings. It is also used to censor words or phrases in rap songs.
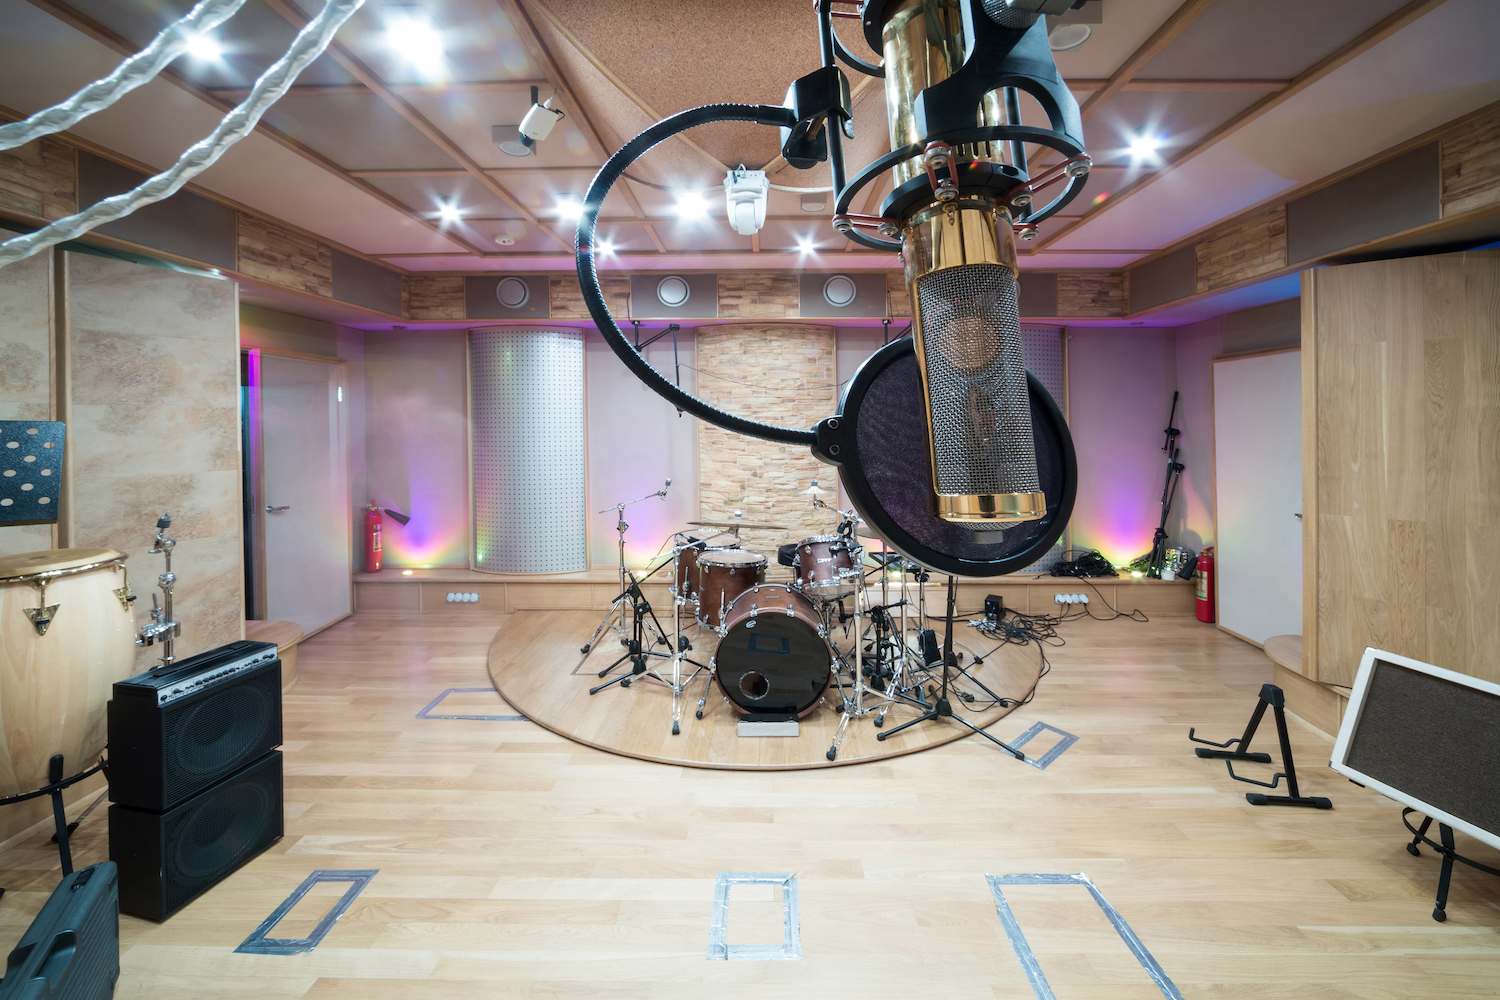
3. Large Rooms Recording
Some musicians avoid recording in open spaces or large rooms because of the extra reverb it generates. When recording in large rooms, it’s relatively harder to isolate the sound. But, if you need to overdub pop music vocals, this setup is recommended.
Large room recordings allow sound engineers and producers to add ambient effects to the final mix. In order to produce the sound quality you’re after, you can either place mics strategically around the space (in addition to close mics on the drums and overheads) or place tall baffles or gobos around the singer and mic to stop most of the room’s sound from being recorded along with the singer.
You can also hang duvets or heavy blankets behind the singer and at the sides of them so that the nearest walls don’t reflect much sound to the mic.
Watch this video to learn how different room sizes affect the quality of the recording.
4. Mic-infested Waters
The mic in a bucket of water recording technique is a creative and unique approach to capturing sound. This technique involves submerging a microphone in a bucket of water, which creates a unique and ethereal soundscape.
Its typical use is to be placed in front of the kick drum to create a “wobbly, sub” sound. This technique was actually used for the kick drum on the song Love Me Again by John Newman.
The first step to this technique required a bucket of water. Then, you’ll need to wrap the microphone or put it in a waterproof bag and completely submerge it in the bucket of water. This allows the mic to constantly react to what the drummer is playing in a much more dynamic way.
The mic will capture low, wobbly sounds that ebbs and flows just like waves of the ocean. You can also use metal, wooden, and plastic containers to produce subtle variations or add channel modulation effects.
5. Small Rooms
If your aim is to get dry vocals or dry sounds, recording in small rooms will do the trick. It is possible to get a respectable dry vocal sound by hanging a couple of duvets or towels behind or around the singer. Small room recordings can actually sound great if you add a small amount of reverb or a similar effect to the mix. Just note that short echoes can occur which create unwanted comb filter effects, making the sound thin and washed out.
Generally, the quality of sound and music produced from small room recordings depends heavily on the kind of microphones you use and the way you position them. Using a close mic technique on a dynamic mic like the SM7B works best for small room recordings. It is also a must that you use amplifiers that accurately capture the sound of the guitar and other sound sources around it.
Find out how small room recordings sound by watching this video:
6. Sightlines
This recording technique is perfect for artists who love connecting with their audience. In sightlines recordings, producers and engineers act as listening audience while the song or performance is recorded. This way, the artists will feel “reassured” and confident, resulting in a better performance.
Although there is no real evidence that this technique produces better music or sound quality, some artists prefer to use it because they find it comfortable and they can get feedback from their audiences in real time.
7. The Trash Mic
A trash mic is a microphone (usually a dynamic mic like an SM57) used in the recording of drums. It’s typically placed above the drummer to capture and manipulate the overall sound of the instrument later.
The trash mic gives a lo-fi sound and when combined with other drum mics, it can be used as a special effect and can be blended to taste.
Learn more about recording and the use of trash mic here:
8. Singer’s Station
The singer’s station is often used by amateur singers, musicians with a limited budget, and those who want to record music in the comfort of their home. It consists of a boom mic stand to hang the mic over and above the music stand, a microphone, a pop filter (optional), and headphones.
The quality of sound and music recorded using this technique is often affected by foot tapping and sound reflections coming from the floor. It’s recommended to use soft cloth material to cover the metal music stand and to place the entire station on a rug or carpet. Doing so will allow you to accurately assess vibrations.
To learn how to properly set up your singer station, watch this video:
9. Re-Amping
Re-amping is used to adjust the sound of a previously recorded sound source, usually an electric guitar or bass.
The technique involves recording the original sound source through an amplifier and then re-recording the amp’s output to another track. To do this you would need to send the original track’s sound source from your DAW back through the amp to be recorded for the second time.
This allows the engineer to adjust the sound of the original source by manipulating the amp’s settings. Re-amping can be used to thicken the sound of a previously recorded guitar part or to add more depth and texture to a sound. It is also used to add distortion to a track or to make it sound more “lo-fi”.
Re-amping is a useful tool for sound engineers who want to change the sound of a musical source without having to physically re-record it. Re-amping is a great way to experiment and can be used to create a variety of sounds, from subtle to extreme.
10. Tape Recording
Okay, so admittedly this one is a little old school.
BUT, it has its benefits.
Tape recording is a recording technique that utilizes magnetic tape to capture sound. It was developed in Germany in the late 1930s, and quickly became the preferred method of sound recording for many professional applications due to its superior sound quality and durability.
Tape recording has largely been replaced by digital recording due to the added ease and flexibility offered by digital solutions. However, many engineers still prefer tape recording to this day.
The most obvious advantage of tape recording is the warmth and depth of sound that comes from using it. Tape has a natural compression and saturation that adds character to a recording, while digital recordings can often sound too flat or harsh.
Tape also has a high dynamic range, allowing for a greater range of sound to be captured.
The downside to tape recording is that it’s much more cumbersome for the everyday home recording enthusiast. If you’re making demo tracks at home, it’s much easier to open up your laptop and start recording in Logic than it would be to set up an entire tape recording studio.
Final Thoughts
There are a lot of recording techniques you can try depending on your preferences, sound requirements, and equipment.
Depending on your situation some of these techniques may be easier to implement than others. That being said, try as many new recording techniques as you can so that you are better versed in the world of sound engineering.
This will ultimately set you apart as an audio professional and allow you to create sounds that will grab the listener’s attention, leaving them wanting more.


0 Comments